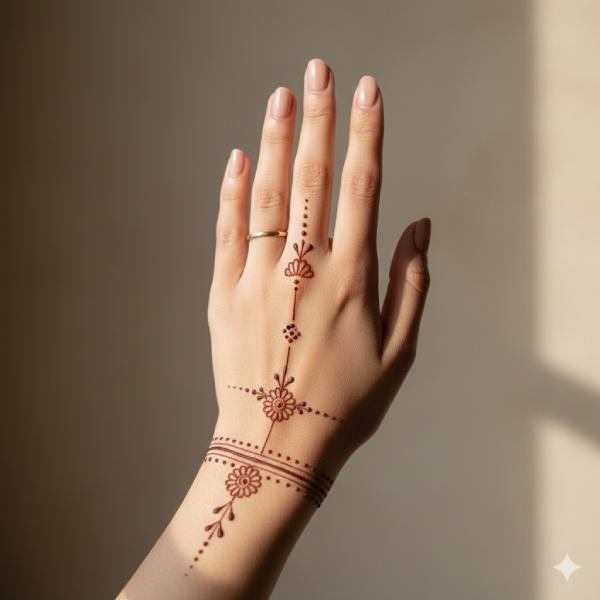

How to Make a Very Easy Mehndi Design
A genuinely easy mehndi design comes down to repeating a few basic strokes — dots, small loops, straight lines — rather than attempting fine detail you haven't practised, and holding the cone at a steady, shallow angle so the paste flows evenly. Here's a real step-by-step approach for a first attempt.
[IMAGE PLACEHOLDER: hand holding a henna cone correctly, demonstrating grip and angle]
What You Need Before You Start
A pre-filled henna cone: Easier for beginners than mixing your own paste, since consistency is already set.
A clean, dry hand or surface: Any oil or lotion residue can stop the paste from adhering properly.
Tissue or a damp cloth nearby: For wiping the cone tip or correcting small smudges immediately.
A stable seat and good lighting: Steadier hands and clear visibility both matter more than people expect for a clean result.
Step-by-Step: Your First Easy Design
Snip a tiny opening at the cone's tip. Start smaller than you think you need — you can always widen it, but a hole that's too large ruins fine control immediately.
Test the flow on a piece of paper first. Squeeze gently and draw a simple line to check the paste flows smoothly without clumping or breaking.
Start with a single dot at your chosen starting point. This becomes your anchor point for the rest of the design.
Draw a simple curved line outward from the dot. Keep the cone moving at a steady, unhurried pace — speed is the enemy of a clean line for beginners.
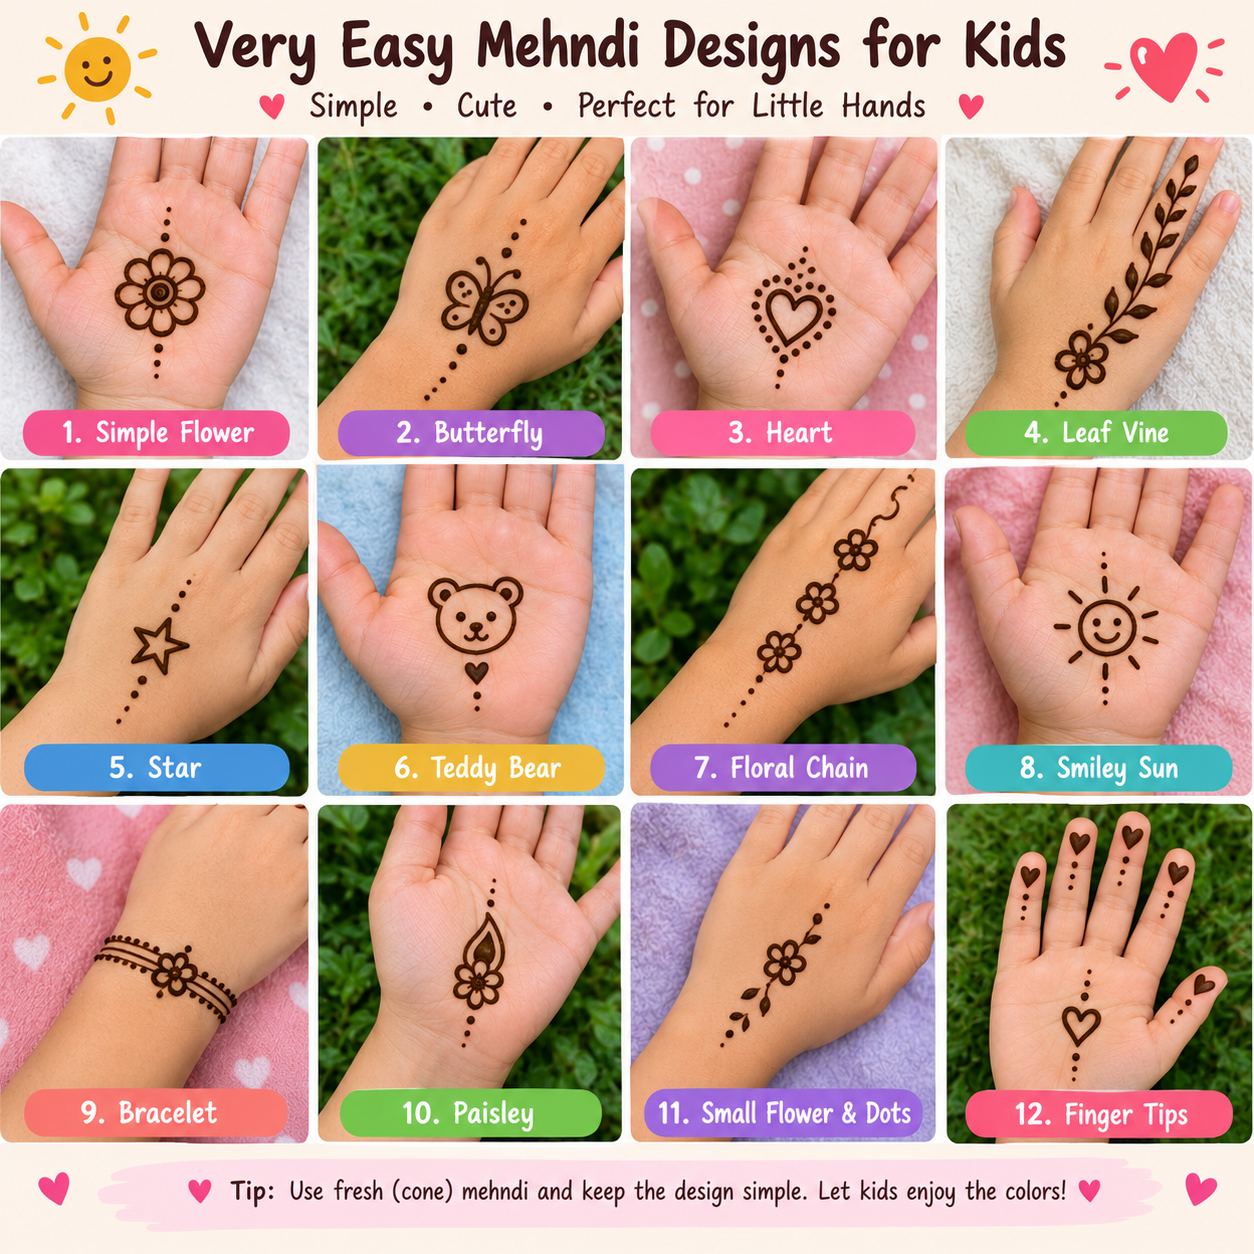
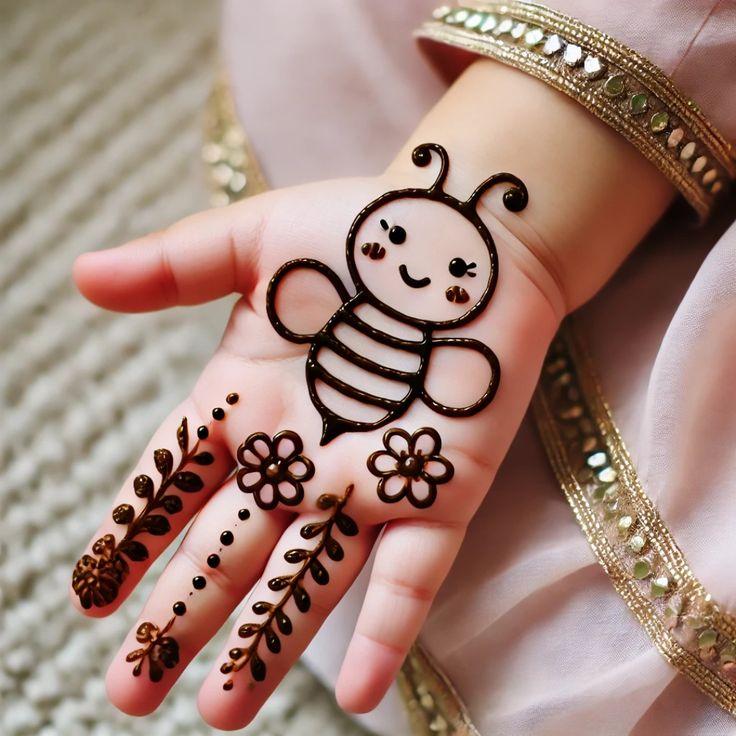
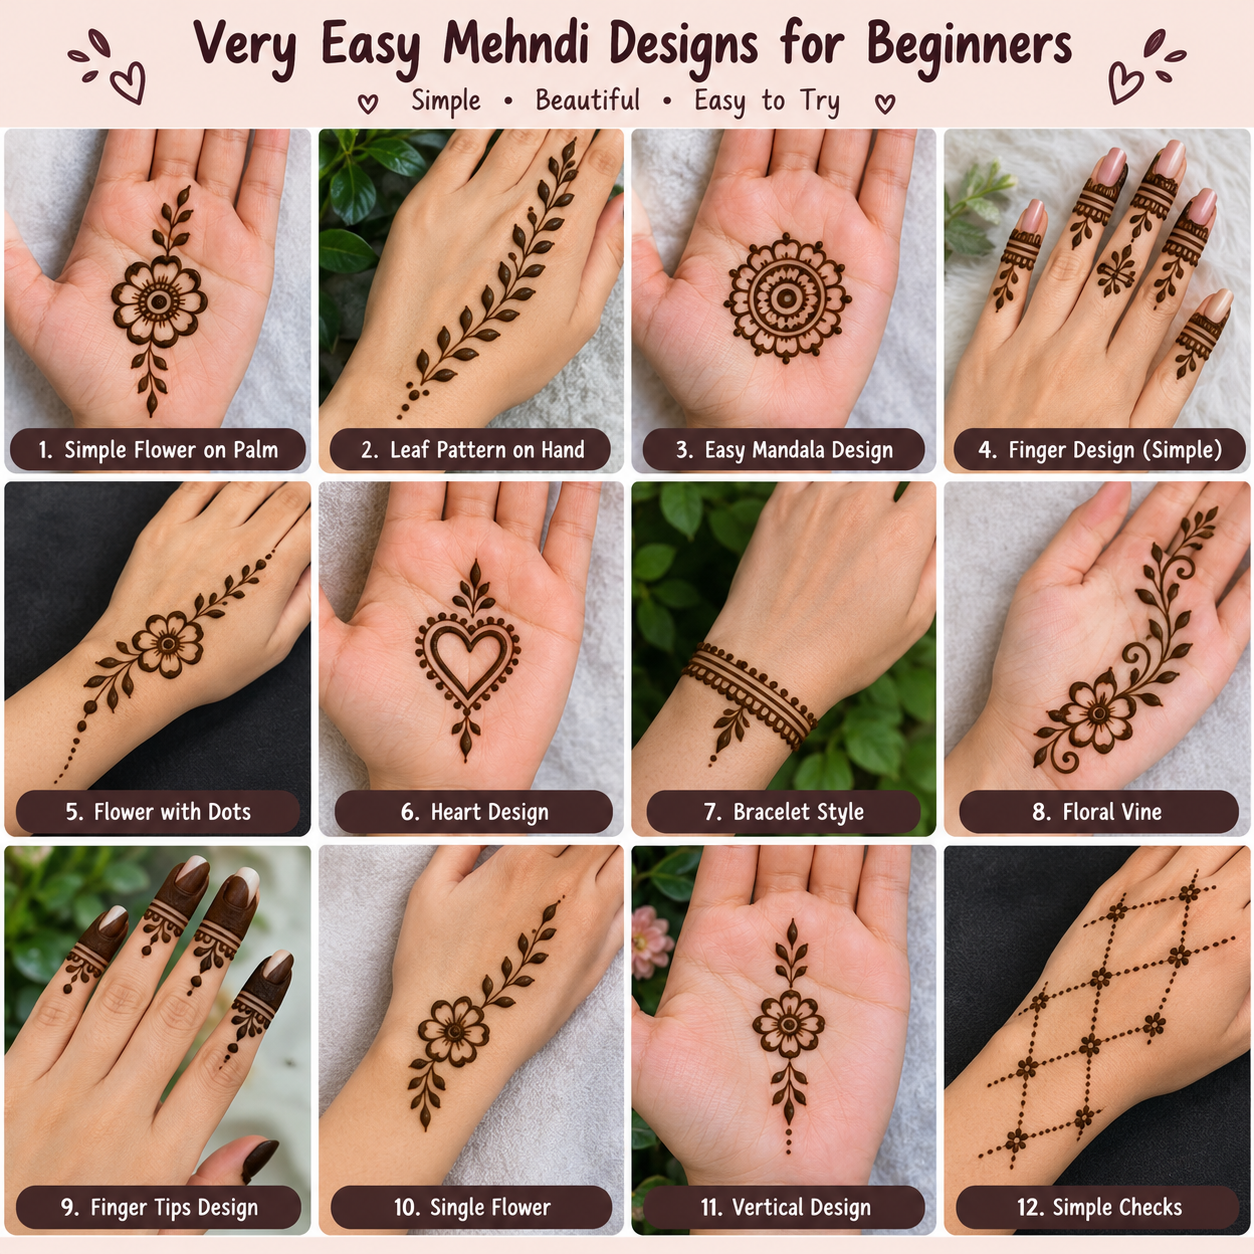
Add small repeated dots along the curve. This single technique — a curved line plus a row of dots — already looks like a finished, deliberate design.
Repeat the same motif two or three times across your fingers or the back of the hand for a cohesive, patterned look rather than one isolated shape.
[IMAGE PLACEHOLDER: step-by-step sequence showing dot, curved line, and repeated pattern]
Basic Strokes Worth Practising First
Before attempting a full design on skin, spend time practising four fundamental strokes on paper: a straight line, a smooth curve, a small teardrop shape, and a consistent dot. Nearly every "easy" mehndi design is really just these four elements combined and repeated in different arrangements — mastering them individually makes any simple design achievable.
Common Mistakes Beginners Make
Pressing too hard on the cone is the most frequent beginner error, producing thick, uneven lines instead of the fine, controlled strokes that make a design look clean. Moving the cone too quickly is a close second — a slower, steadier pace produces a far more even line than rushing through the pattern. Beginners also often attempt too much detail on a first try; starting with a genuinely minimal design builds confidence and cone control before moving to anything more ambitious.
How to Fix a Mistake Mid-Application
If a line comes out wrong while the paste is still wet, a cotton bud or the corner of a tissue can gently lift it away before it sets, giving you a clean restart on that specific spot. Once the paste has begun to dry, it's usually better to work around the mistake — turning it into part of the design, like an extra dot or small loop — rather than risk smudging a larger area trying to remove it.
Getting the Cone Consistency Right
Paste that's too thin runs and blurs the edges of your lines; paste that's too thick clogs the cone tip and comes out in unpredictable blobs. A good pre-made cone is usually calibrated correctly already, but if you notice either issue, gently kneading the cone before use, or briefly warming it in your palm, often restores a smoother, more consistent flow.
Aftercare for the Best Colour
Leave the paste on for as long as comfortably possible — several hours at minimum — before gently flaking it off without water. Avoid washing the area for a few hours afterward, and keep it away from water for as long as practical, since the colour continues developing and darkening for a day or two after the paste comes off.
Practising Before the Real Day
If you're planning to apply mehndi for an actual event, do at least two or three practice runs on paper or on your own hand beforehand, ideally a few days ahead rather than the night before. This gives you a realistic sense of your own pace and control, and time to adjust the cone or paste if something isn't working as expected.
Choosing Where on the Hand to Start Practising
The back of the hand near the wrist is generally the most forgiving place for a first attempt, since the skin is relatively flat and the area is large enough that a slightly uneven line doesn't stand out the way it would in a tighter space like between the fingers. Save the fingers themselves for once you've built confidence on flatter, more open areas — finger mehndi requires more precise, tighter cone control that's genuinely harder for a first-timer.
Adapting the Same Motif Into a Slightly Bigger Design
Once the single curved-line-and-dots motif feels comfortable, you can build a noticeably more impressive-looking design just by repeating and connecting it — a row of the same motif along the wrist forms a simple bracelet-style border, and mirroring it on both sides of a central line creates a symmetrical pattern that looks far more deliberate than its individual components. This is really the core trick behind most "easy" mehndi designs: a genuinely simple building block, repeated and arranged thoughtfully, rather than an elaborate motif attempted in one go.
When to Call in a Professional Instead
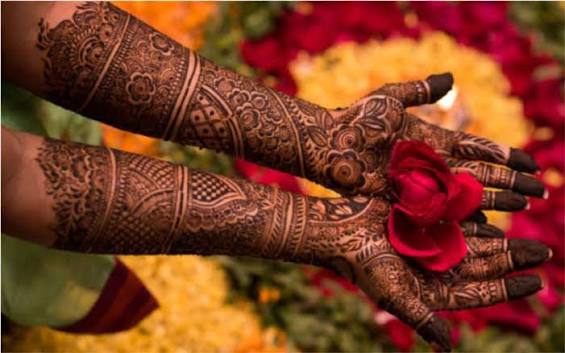
If you're aiming for something for a special occasion and want a guaranteed clean result, a professional mehndi artist will always outperform a first attempt, particularly for bridal or event-day designs where there's no room for a redo.
Keeping Your Non-Dominant Hand Steady
If you're applying mehndi to your own hand, working on your non-dominant side is genuinely harder, since you lose some of the fine control you're used to. Resting your forearm fully on a table, rather than holding it in the air, removes a surprising amount of natural shake and makes a real difference to line steadiness, even for a hand you don't normally lead with.
Frequently Asked Questions
Is it hard to learn how to make an easy mehndi design?
Not particularly — genuinely easy designs rely on just a few basic strokes repeated, which most people can learn with a bit of paper practice.
What kind of cone should a beginner use?
A pre-filled, ready-to-use henna cone is easiest for beginners, since the paste consistency is already set correctly.
What if I make a mistake while applying it?
While the paste is still wet, gently lift it away with a cotton bud or tissue corner. Once it's dried slightly, it's often easier to work the mistake into the design than to remove it.
How long before I get good at this?
A few practice sessions on paper, followed by a couple of attempts on skin, is usually enough to comfortably manage a genuinely simple design.
Conclusion
An easy mehndi design isn't about talent — it's about a steady hand, a slow pace, and sticking to a few basic strokes until you're comfortable with cone control. Practice on paper first, and the rest follows naturally.
Prefer to leave it to a professional for your event? Browse Vendors on WeddingBuzz | Call: +91 73100 30003