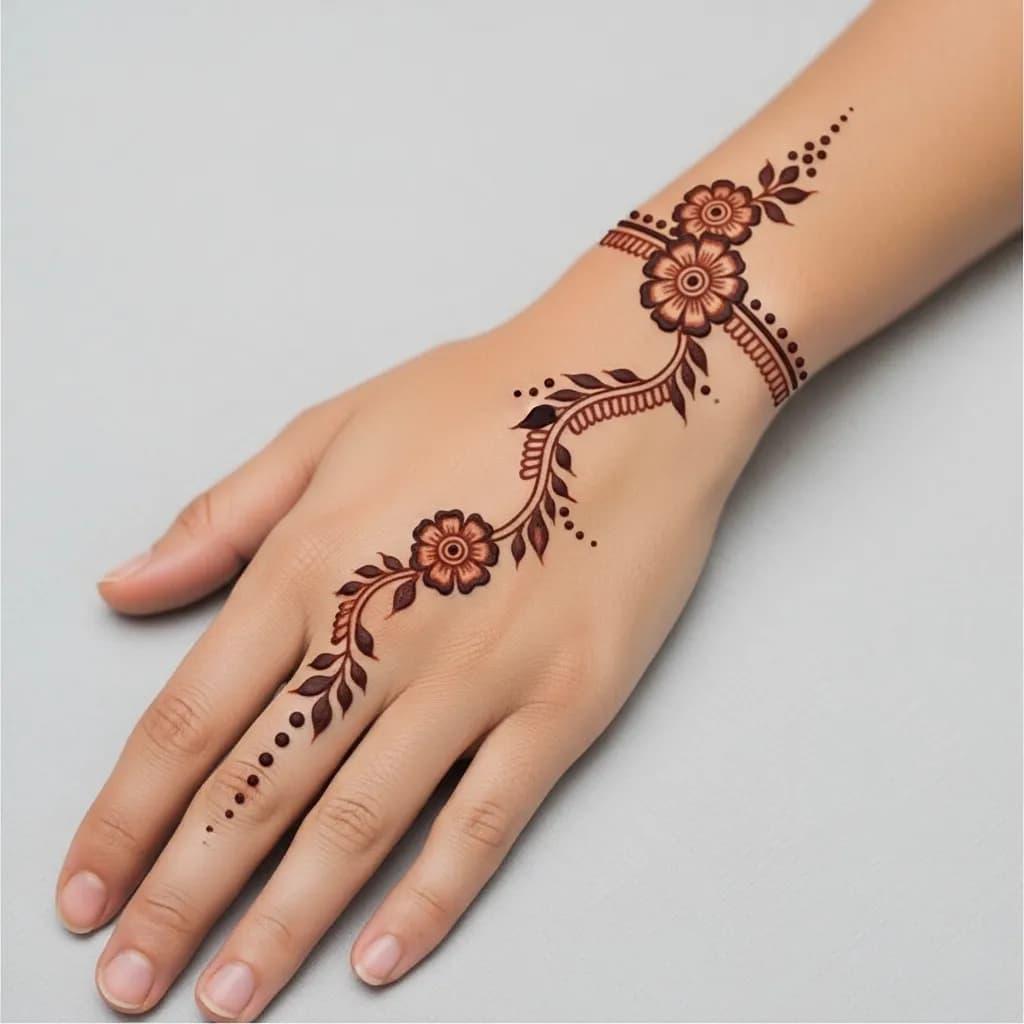

Very Easy Back Hand Mehndi Designs
The back of the hand is the most forgiving canvas for an easy mehndi design — flatter than the palm's creased skin, and large enough that small imperfections don't stand out the way they do in tighter spaces like between the fingers. Here's how to approach a genuinely simple design specifically for this zone.
[IMAGE PLACEHOLDER: simple mehndi design across the back of the hand with a wrist border]
Why the Back of the Hand Suits Easy Designs
Unlike the palm, which has natural lines and creases that can interrupt a pattern, the back of the hand offers a relatively smooth, flat surface. This makes it genuinely easier for beginners to draw clean lines and shapes, since you're not working around the skin's natural texture the way you would on the palm. It's also the area most visible in everyday hand movements — waving, holding a cup, resting on a table — which is why so many "easy" designs default to this zone specifically.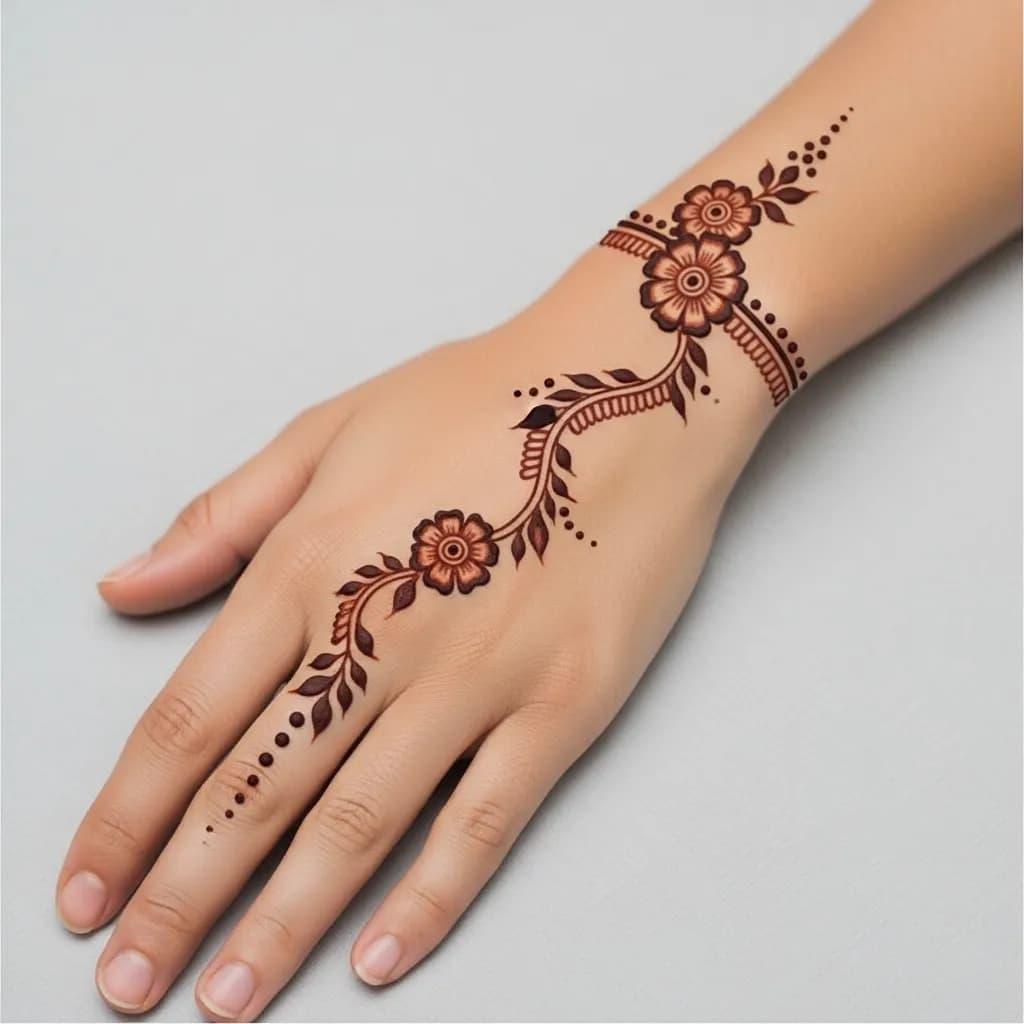
Motif Categories That Work Well Here
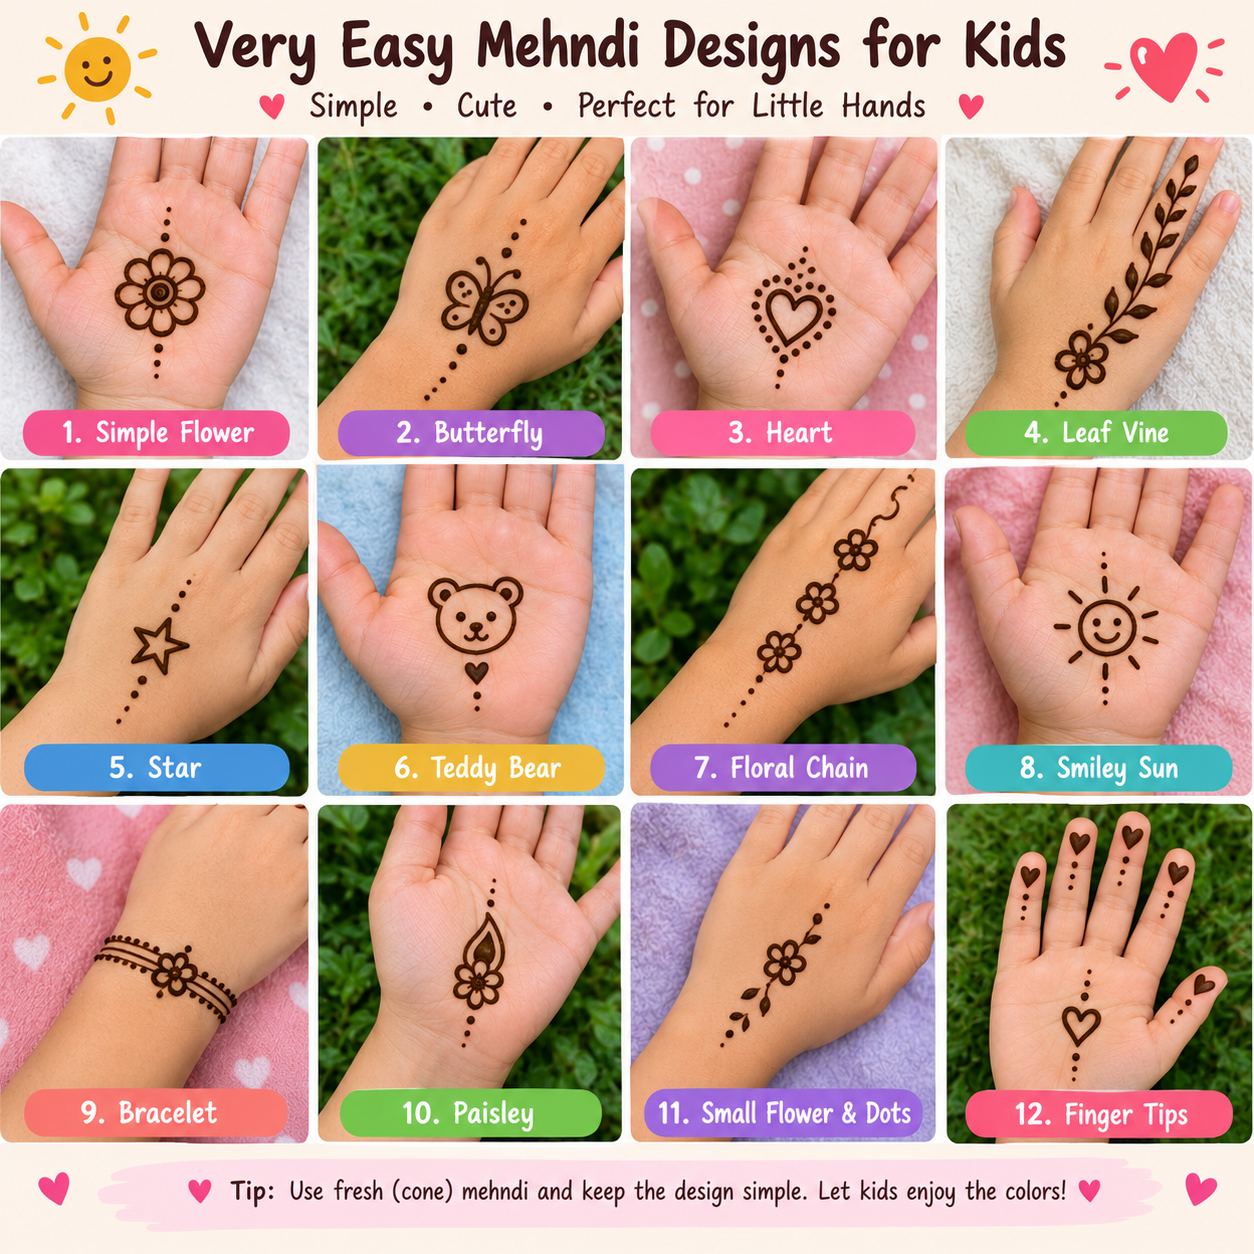
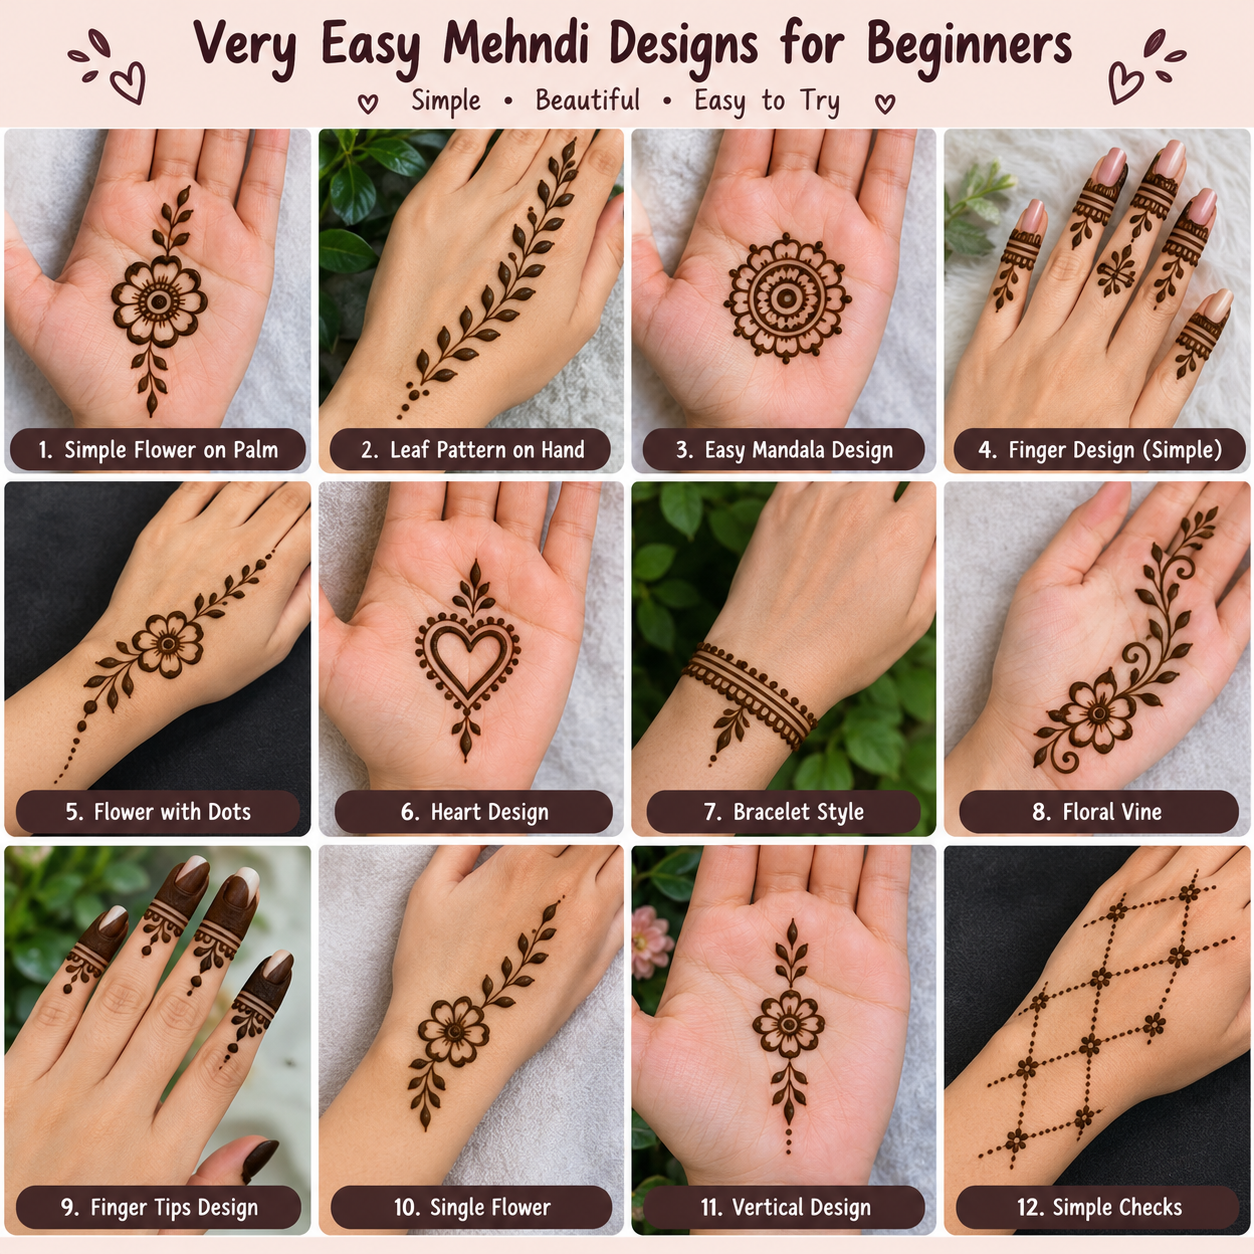
A central knuckle motif: A single small flower or star positioned over the middle knuckle, simple and quick.
A wrist border: A thin repeating pattern — dots, small triangles, a wavy line — running along the wrist like a bracelet.
Finger vines: A single thin line trailing up one or two fingers from the back of the hand, with small leaf shapes branching off.
A scattered dot pattern: Small dots spread across the back of the hand in a loose, deliberate arrangement — extremely quick and forgiving.
[IMAGE PLACEHOLDER: close-up of a wrist border design with repeating dots and triangles]
A Simple Layout Approach
Rather than trying to fill the entire back of the hand, pick one anchor point — usually the centre knuckle or the wrist — and build outward from it. This gives your design a clear focal point and a natural sense of direction, rather than a scattered collection of unrelated shapes. Most genuinely easy designs use exactly this single-anchor-point approach, whether the final result looks minimal or moderately detailed.
Step-by-Step for a Basic Back-Hand Pattern
Choose your anchor point. The centre knuckle is the most common and forgiving choice for a first attempt.
Draw a small flower or star shape at that point. Keep it modest in size — roughly the width of the knuckle itself.
Add a thin line extending toward the wrist. This connects your anchor motif to the rest of the hand visually.
Add a simple border along the wrist. A row of dots or small triangles closes off the design neatly.
Optionally, extend a thin vine onto one or two fingers. This is the step to skip on a genuinely first attempt, and add once you're comfortable with the base pattern.
Adjusting for Finger Length and Hand Size
A design planned for a longer hand can look cramped on a smaller one if you don't adjust proportions. Before starting, hold your hand out and roughly gauge how much space you actually have between the knuckle and wrist — this tells you how large your central motif can comfortably be without the whole design feeling squeezed once you reach the wrist border.
Common Mistakes Specific to This Zone
A frequent mistake is drawing the wrist border too close to the actual wrist bone, where hand movement causes more skin flexing and increases the chance of smudging while the paste is still wet. Leaving a small buffer of bare skin between the border and the wrist joint itself gives the design more room to survive natural hand movement during drying.
How This Differs From Palm Designs
Back-hand designs generally tolerate bolder, slightly thicker strokes better than palm designs do, since the flatter surface and smaller natural texture variation give thicker lines more room to read cleanly. Palm designs, by contrast, often benefit from finer linework to avoid getting lost in the hand's natural creases.
Pairing With Rings and Bracelets
If you're planning to wear rings or a bracelet with your design, leave a small gap of bare skin where the jewellery will sit, rather than drawing the pattern straight through that area. A design that flows around jewellery placement, rather than being interrupted by it, reads as more intentional in photos.
Choosing Motifs Based on Skin Tone and Contrast
Henna generally develops a reddish-brown to deep maroon colour regardless of skin tone, but how visible fine detail looks can vary. On deeper skin tones, thinner lines sometimes need to be spaced a touch further apart to read clearly at a glance, while on lighter skin tones even fine, closely spaced detail tends to show up well. If you're unsure how a particular motif will look on your own hand, test a small version on paper held against your skin under similar lighting before committing to the full design.
A Quick Reference for Different Occasions
A single knuckle motif with a thin wrist border suits everyday festive wear or a quick guest look. Adding a short finger vine dresses the same base design up slightly for a sangeet or smaller family function. For anything more formal, this basic back-hand pattern works well as a starting layout that a professional artist can then build additional detail around, rather than needing an entirely different design from scratch.
Find Mehndi Artists on WeddingBuzz
For a more elaborate back-hand design or a guaranteed clean result for an event, WeddingBuzz features mehndi artists experienced with both simple and detailed back-hand patterns.
Cleaning Up the Edges for a Sharper Look
Once a design is fully dry and the paste has flaked off, a cotton swab lightly dipped in oil can gently clean up any stray marks just outside the intended pattern, sharpening the overall silhouette without affecting the design itself. This small finishing step often makes a bigger visual difference than people expect, especially for a design meant to photograph well.
Frequently Asked Questions
Why is the back of the hand easier for beginners than the palm?
It offers a flatter, more even surface without the natural creases and lines that can interrupt a pattern on the palm.
What are the best easy motifs for the back of the hand?
A single knuckle motif, a wrist border, or a scattered dot pattern are all quick, forgiving choices for beginners.
How do I adjust a design for smaller hands?
Scale down your central motif and keep spacing proportionate to the actual distance between your knuckle and wrist, rather than copying a design's exact proportions from a reference photo.
How long does a simple back-hand design typically last?
Similar to other mehndi designs, colour typically lasts one to two weeks, depending on paste quality, aftercare and how often the hands are washed.
Conclusion
The back of the hand rewards a single-anchor-point approach — pick one focal motif, build outward with simple lines and a border, and you'll have a clean, deliberate-looking design without needing advanced technique.
Want a professional touch for your event? Browse Vendors on WeddingBuzz | Call: +91 73100 30003